About this Help System
This SmartScore 64 NE online Help system provides you with comprehensive, interactive and visual tools both for getting started and for quickly locating and answering any question or issue you might encounter while working with SmartScore.

How to get there …
How SmartScore Help works
1. General

2. Navigation
Built-in navigation aids on each page will help quickly get you to the topic you are looking for:

NOTE …
On smaller displays, such as mobile phones, breadcrumb and button bar (described below) may become hidden.
 Button bar: As soon as you scroll down a help page a little, the "button bar" appears on the right edge of the browser window. Here you can jump to the top of the page, access the search function in the main menu as well as the keyboard shortcuts, the table of contents and the index.

In addition, you can use the keyword search to help you quickly find the information you are looking for (or to learn something new !).
3. Keyword search
You can search the entire online help system by entering a keyword. The search function is in the main menu. To get there, …

Tips for keyword searching …
Less is more. When entering search terms, limit yourself to one or two search words. Uppercase and lowercase letters don’t matter. Press Enter on your keyboard to start search.
4. Info callouts
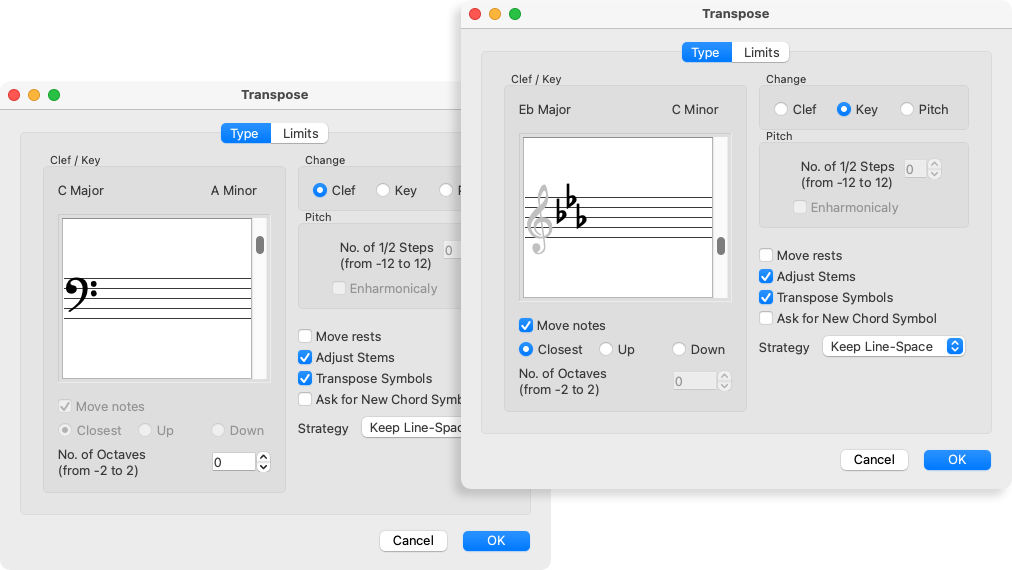
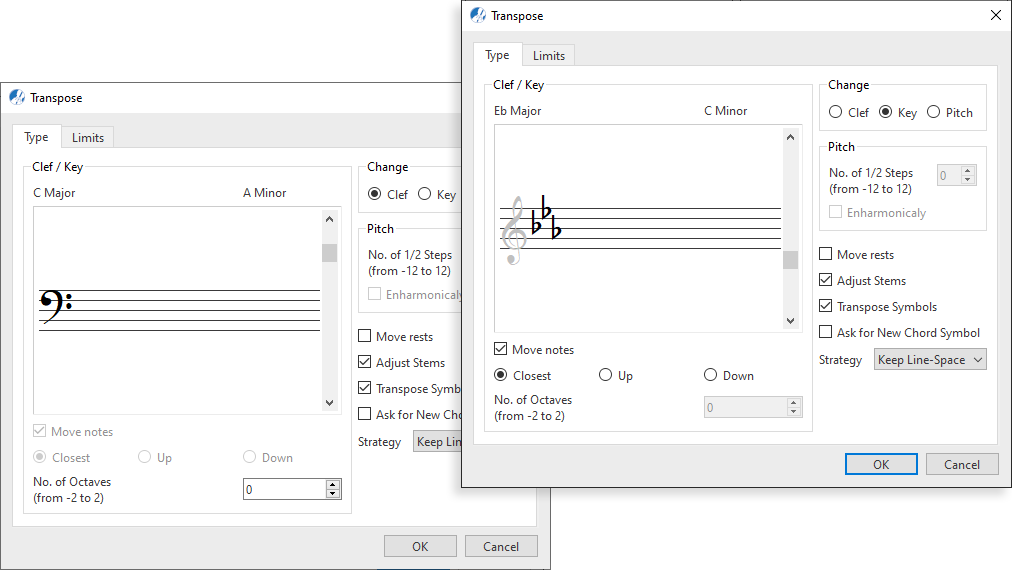
Inside many screenshots you may see green or brown tabs with an exclamation mark (!) or a number. Move your mouse and hover over (or tap on) any of these info callouts. A short description about the related function will appear. Try it:
Choose to transpose by "Clef", by "Key" or simply by "Pitch".
The Type tab lets you choose whether to transpose by key or by clef. Choose the Limits tab to limit the range and/or parts that you want to be applied during transposition.
Scroll up or down to select a different clef sign depending on the type of sign you choose.
Scroll up or down to select a different key signature depending on the type of sign you choose.
The clef sign you see displayed in the Transpose window reflects the Active Staff line where your cursor was positioned. This information is important only when you want to limit transposition to a single part.
Normally, these default options ought to remain as is. But for special cases, they too can be changed and applied.
Normally, these default options ought to remain as is. But for special cases, they too can be changed and applied.

5. Video animations
One picture tells a thousand words. We’ve included nearly 100 short video animations throughout the Smartscore NE Help system. While most of the video animations are self-explanatory, we’ve included some pop-up text within the image frame for clarity.


6. Information about the scope of functions (videos/images)
A few video animations, images and screenshots in this Help system show functions or elements that are not included in the Piano edition. Simply ignore those. Please note that the SmartScore Piano edition can only process and create documents with a maximum of 2 systems per system.
We have provided videos or screenshots to which the above applies with the following button. You can click on this to get further information:
7. Still have questions? Want to get involved?
We have a wonderful community of active users and volunteer assistants interacting with each other in our online user forum here:
https://bsmartscoreusertechresources.runboard.com/
Of course, if you still need personalized assistance, we’re available to help. We ask that you notify us by e‑mail first. Be SURE to include any files relevant to your issue (original PDF, TIF and ENF files if any). We try to respond within 24 hours.
Support by email:
tech@musitek.com
Phone support (hours not always regular):
805-646-8051 (U.S.)